Our Blog
5 Steps To Optimize WordPress With W3 Total Cache And GTmetrix
In this tutorial, we are explaining how to optimize WordPress with W3 Total Cache and GTmetrix plugins. When you migrate HTML site to WordPress or build a new interface, the performance remains good initially. As the content and traffic increase with the passage of time, the page loading speed can get affected. Caching is a viable solution to the problem but WordPress users cannot turn it on by default. They can add the W3 Total Cache plugin to enable the feature. The GTmetrix plugin will help measure the performance. Let’s see how both tools can be integrated and used.
1. Install GTmetrix for WordPress Plugin
Log in to the admin panel of your website. In the menu on the left-hand panel, select “Plugins” and click on “Add new”. Enter “GTmetrix for WordPress” in the search field and then locate the correct option in the results. Press the “Install” button to download the files of the tool. Once the download is complete the tab will change to display “Activate”. Hit it to enable the plugin on your website.
2. Generate The API Key
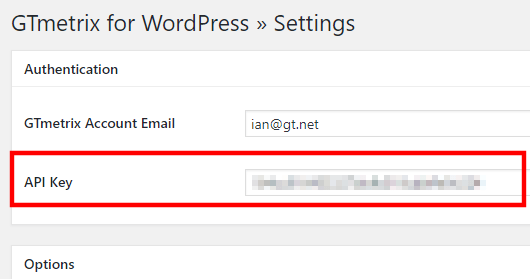
You will need an API key to integrate your website with the performance analysis tool. This code can be generated by visiting the website of the service. Click the “Sign up” button on the homepage which will open a form. Provide details like name and e-mail ID along with a password to create an account. Access your account and go to the “Settings”. Here you can find the API key. Now head back to the dashboard of your WordPress interface. GTmetrix will be visible in the menu. Click on it to open its settings page. Enter the API key in the relevant field and hit “Save changes”.
3. Run A Performance Test
In this step of our guide to optimize WordPress with W3 Total Cache and GTmetrix, we will now conduct a performance test. Click again on “GTmetrix” in the control panel menu and this time select the “Tests” option. A new screen will open where you will have to press the “Test your Front Page now” tab.
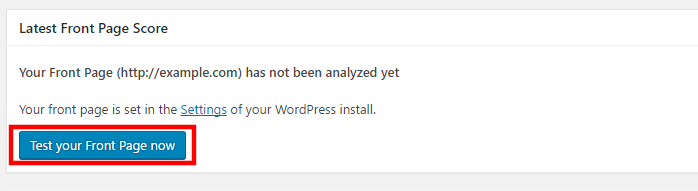
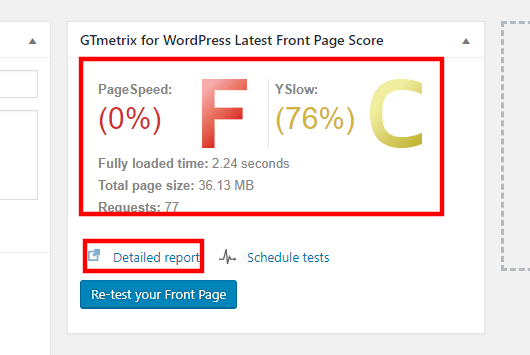
This will start a test following which a graded score will be generated. You can click the “Detailed report” link to get more information.
4. Install The W3 Total Cache Plugin
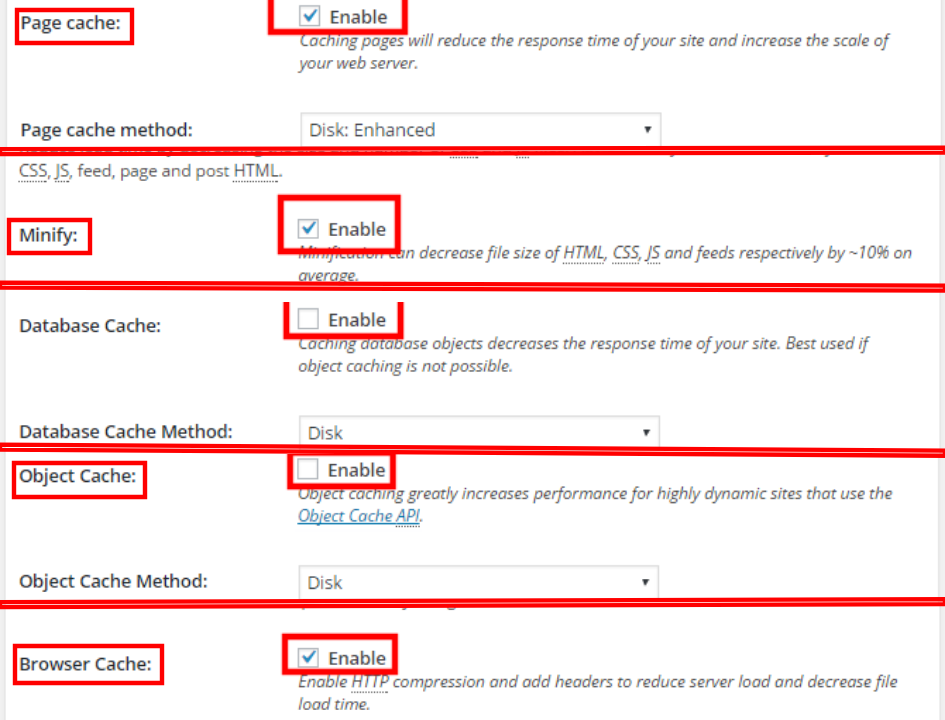
Follow the instructions mentioned in the first step to download and install the W3 Total Cache plugin. Activate it and go back to the control panel menu. Here you will find an option called “Performance” which you need to select. Then go to “General Settings” where you may see an error message communicating that the necessary directives for fancy permalinks could not be found. In case you see the message go to “Permalinks” in the menu and choose any format other than the default option. Return to the General Settings section in Performance after saving the modifications. You will now have to configure the settings of the new plugin. Use the given image as reference and tick the “Enable” box in Page Cache, Minify, Database Cache, Object Cache, and Browser Cache options.
Save your changes and you may see an error message saying that one or more plugins have been activated/deactivated. In case the error occurs, empty the page cache by hitting the relevant button. Refresh your front page and run another test with GTMetrix and you will see an improved performance.
5. Add Expires Directives To The .htaccess File
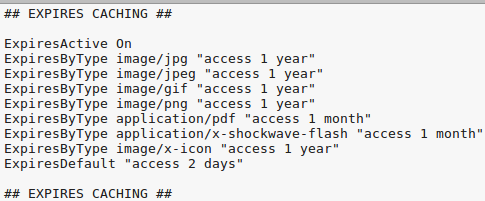
Expire directives must be added to the .htaccess file to fully permit browser-based caching. Use an FTP client to your website’s database and access the .htaccess file. Download it and then open it in a text editor. Add the following directives right at the beginning of the file.
Save the file and re-upload it to your installation. Run yet another test to see the improved performance.
Conclusion
You must optimize WordPress with W3 Total Cache and GTmetrix plugins so that you can provide a satisfying experience to your visitors. These open source solutions are ideal for monitoring and enhancing the performance of WordPress interfaces.