Our Blog
A Beginner’s Guide To Create WordPress Multilingual Website
Website owners are always looking for ways to expand their reach and connect with more people. One of the best ways to do so is by offering your website’s content in multiple languages. This will help you in reaching out to the non-English speaking population which is interested in your products or services. Here we are discussing a method to create WordPress multilingual website. The open-source platform is an ideal one for beginners. It allows them to build an interface easily without writing any code. They can add functionality and manage their website without too many hassles. The following steps will help them in building a multilingual website on the CMS quickly.
1. Install The WPML Plugin And Some Necessary Add-ons
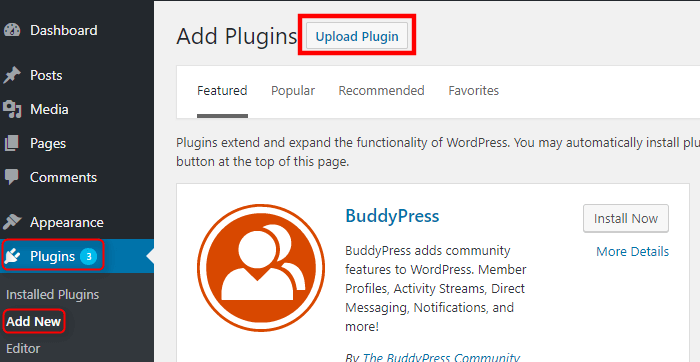
You can create a multilingual website without needing to hire a WordPress website development company. There are plugins that will help you do the job. However, before you start the project it will be pertinent that you know the language(s) in which you want to translate your content. This will save you from embarrassing mistakes that can occur in machine-generated conversions. We have chosen the WPML plugin for this tutorial. Go to the plugin developer’s website and purchase the tool. The add-ons you need are WPML Translation Management and WPML Media Translation. You will be provided the solutions in the form of the ZIP files. Now access your WordPress dashboard and go to Plugins > Add New. Click on the Upload Plugin button and then choose all ZIP files one by one. Activate the tools and move to the next step.
2. Select A Compatible Theme
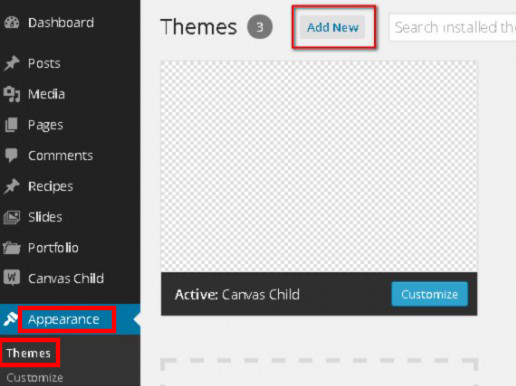
You will now have to choose a theme for your interface. You can find a list of compatible templates on the WPML website. There you will find layouts listed with their category, compatibility status, developer, and testing information. Choose one which is suitable for your industry and install it on your website. Go to Appearance > Themes in the dashboard and hit the Add New button to upload your template.
3. Choose Your Preferred Languages
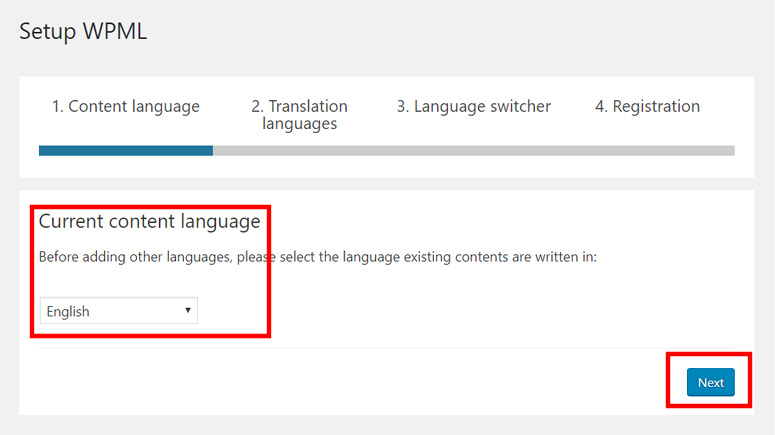
Once the plugin is activated, you will see a notification in your dashboard asking you to make the configurations. Click on it to start the tool’s setup wizard. You will be asked to confirm your current content language. Choose English in the dropdown menu and then press Next.
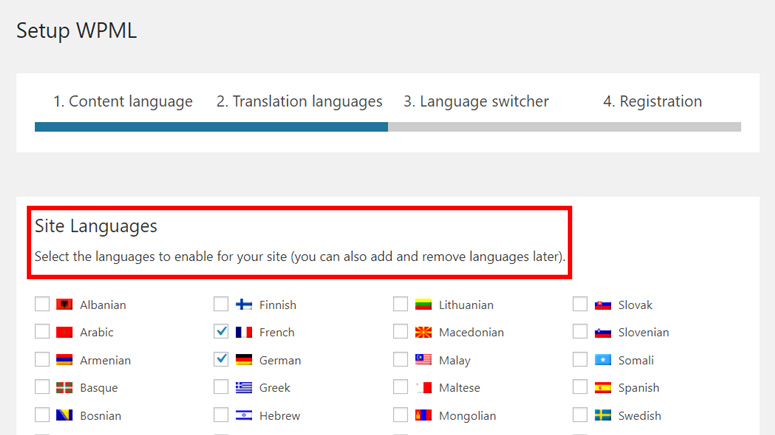
You will now be directed to another screen where you can select your translation languages.
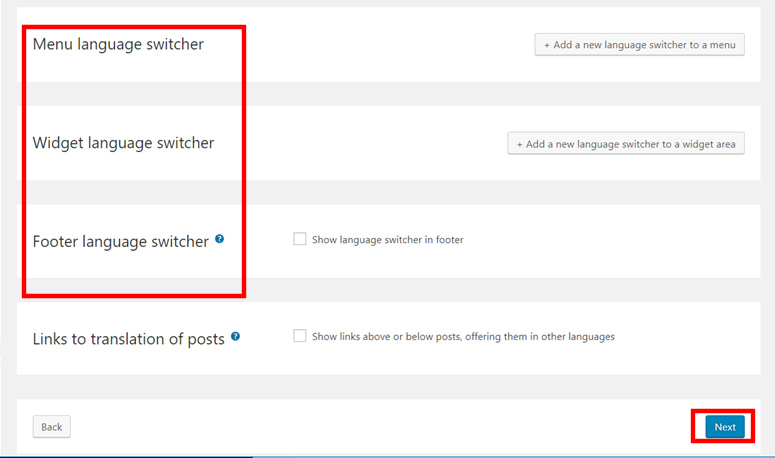
Then you will be taken to the Language switcher section that will let visitors access the content in their preferred language. You can also define the locations on your interface for the switcher.
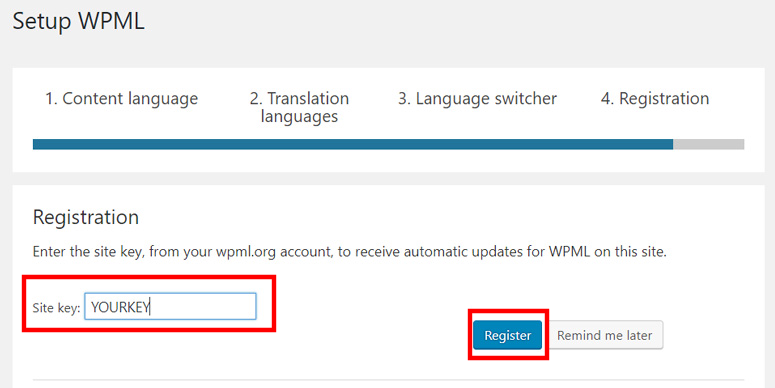
Make all the configurations and go to the final step where you will need to provide a Site key. You can access this code from your WPML account. Hit Register to complete the setup.
4. Select A Method For Translating Content
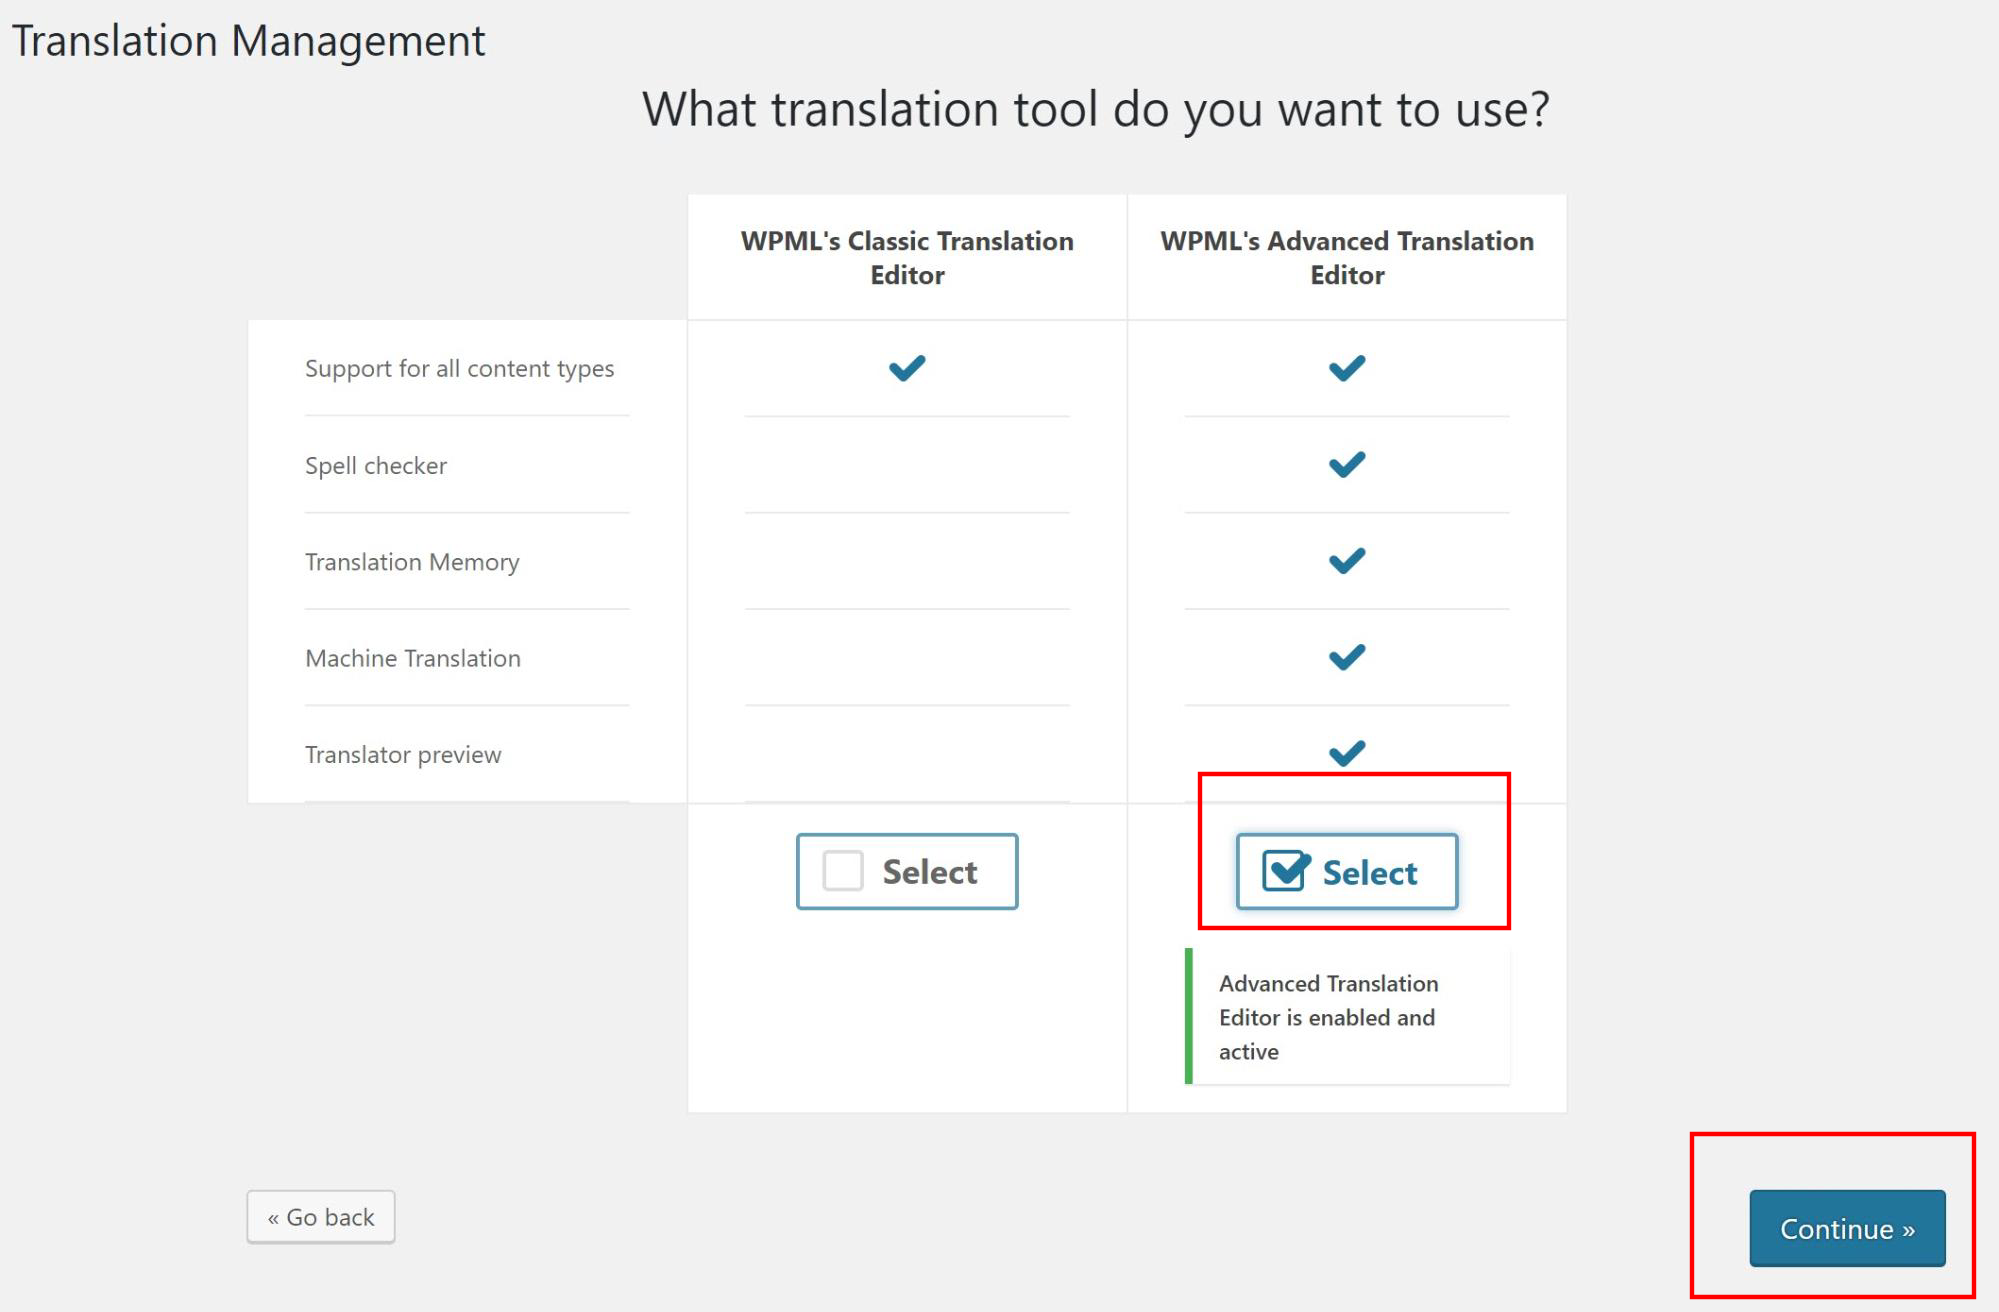
Access the WPML Translation Management add-on and you will be asked to choose a translation method. Choose one and hit Continue. Then you will be asked to choose a translation tool. Select WPML’s Advanced Translation Editor and move ahead.
5. Translate Posts And Pages
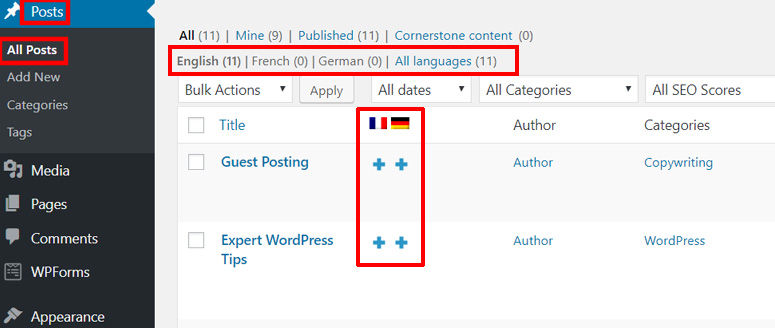
The process to create WordPress multilingual website is technically complete. However, you still need to learn how the plugin works. Let’s begin by translating posts and pages. Go to Posts > All Posts in your dashboard. Here you will see all the posts with the chosen language buttons in front of them. Select a post to translate and then click the “+” icon.
The Advanced Translation Editor will open now. You can click the button on top to automatically translate the content. Do check all the changes to ensure no errors are included in the conversion. Once you are satisfied hit Finish and then Complete on the next screen.

6. Translate Website Menus
You can translate the website menus manually. However, beginners can use a handy feature to automatically synchronize the menus. Visit WPML > WP Menus Sync in your control panel. Hit Synchronizer and the tool will do the rest. Press Apply changes once you are satisfied with the modifications.

7. Translate Taxonomies And Custom Fields
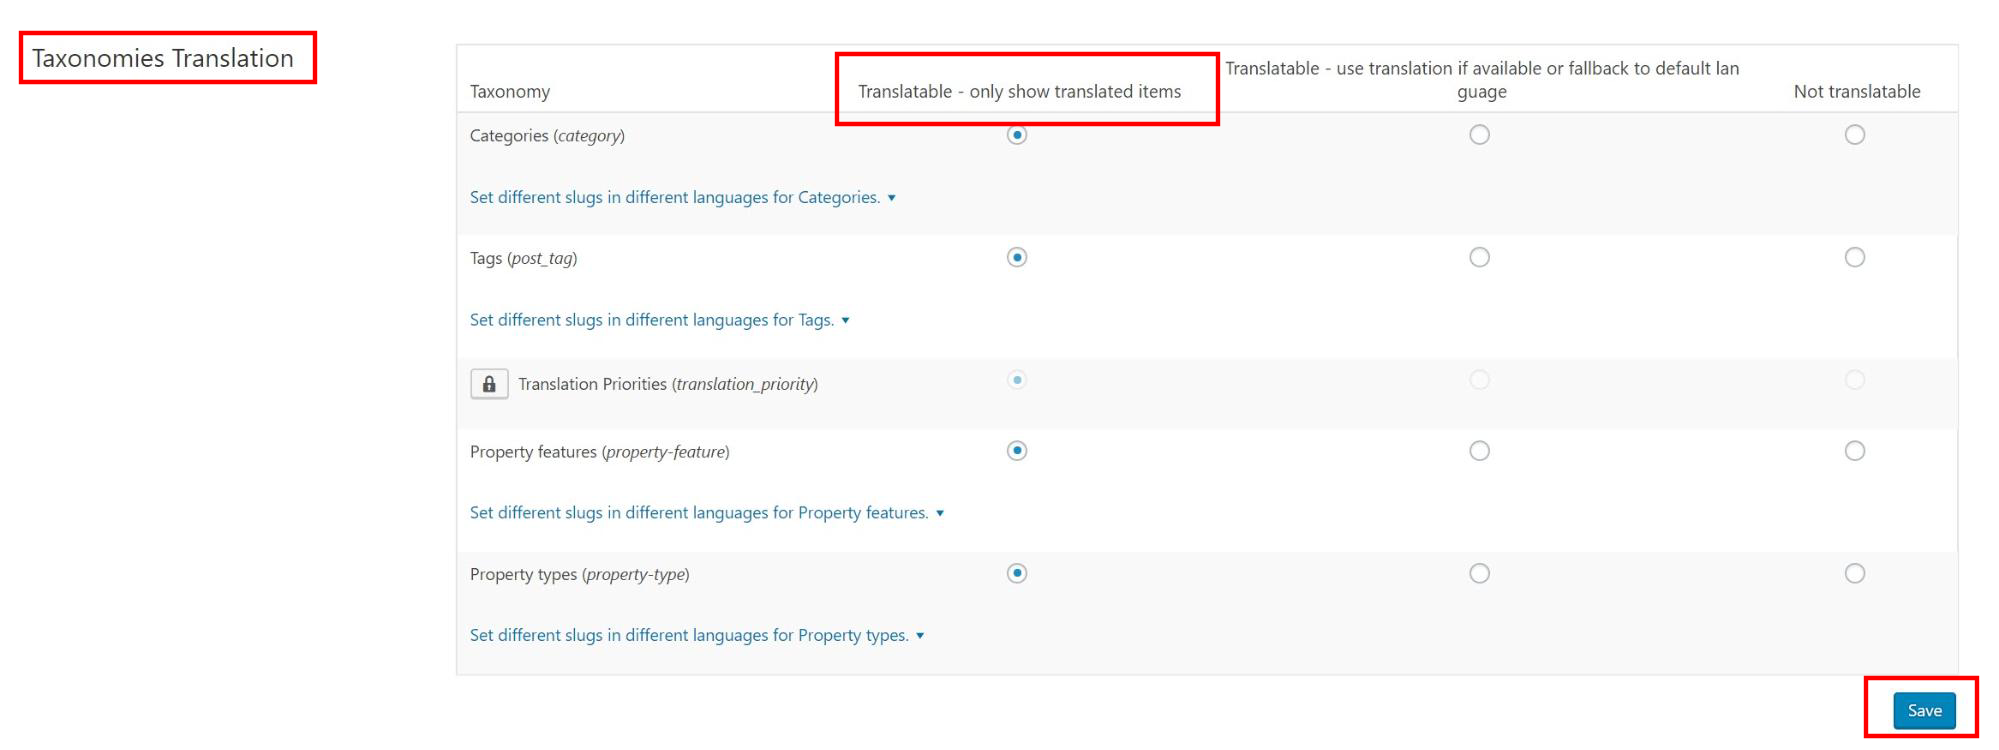
You can translate all categories, tags, and other custom taxonomies of your website. Go to WPML > Settings and in the Taxonomies translation section select the Translatable option.
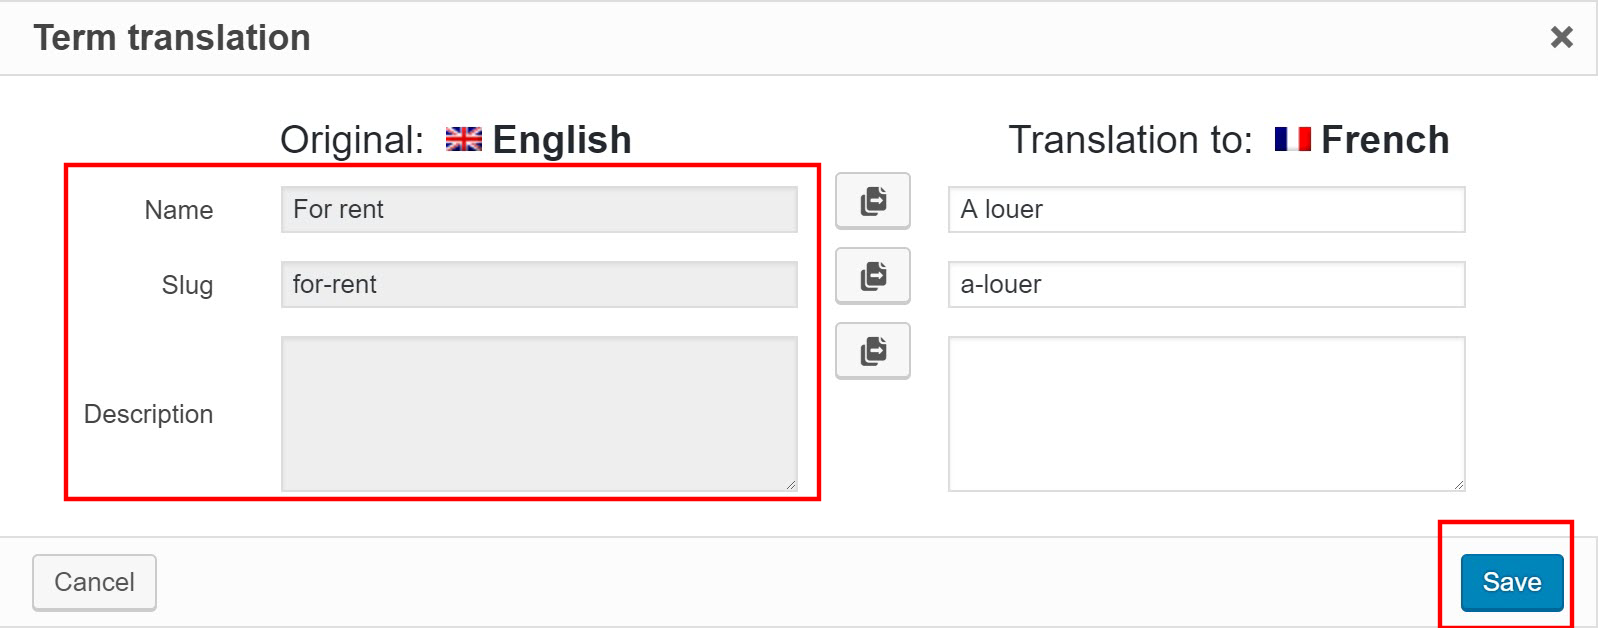
Visit WPML > Taxonomy translation and select the taxonomy you want to convert. Enter the relevant details in the name, slug, and description fields. Press Save and the translations will be completed.
We will now translate the custom fields. Go to WPML > Settings and in the Custom Fields Translation section choose the Translate option for all your fields. The fields can be translated through the Advanced Translation Editor now.

8. Translate The Images On Your Website
Visit WPML > Media Translation in the dashboard to access the WPML Media Translation add-on we installed in Step 1. Select the images you want to translate. Then choose the original languages and the one in which you want to convert the text.
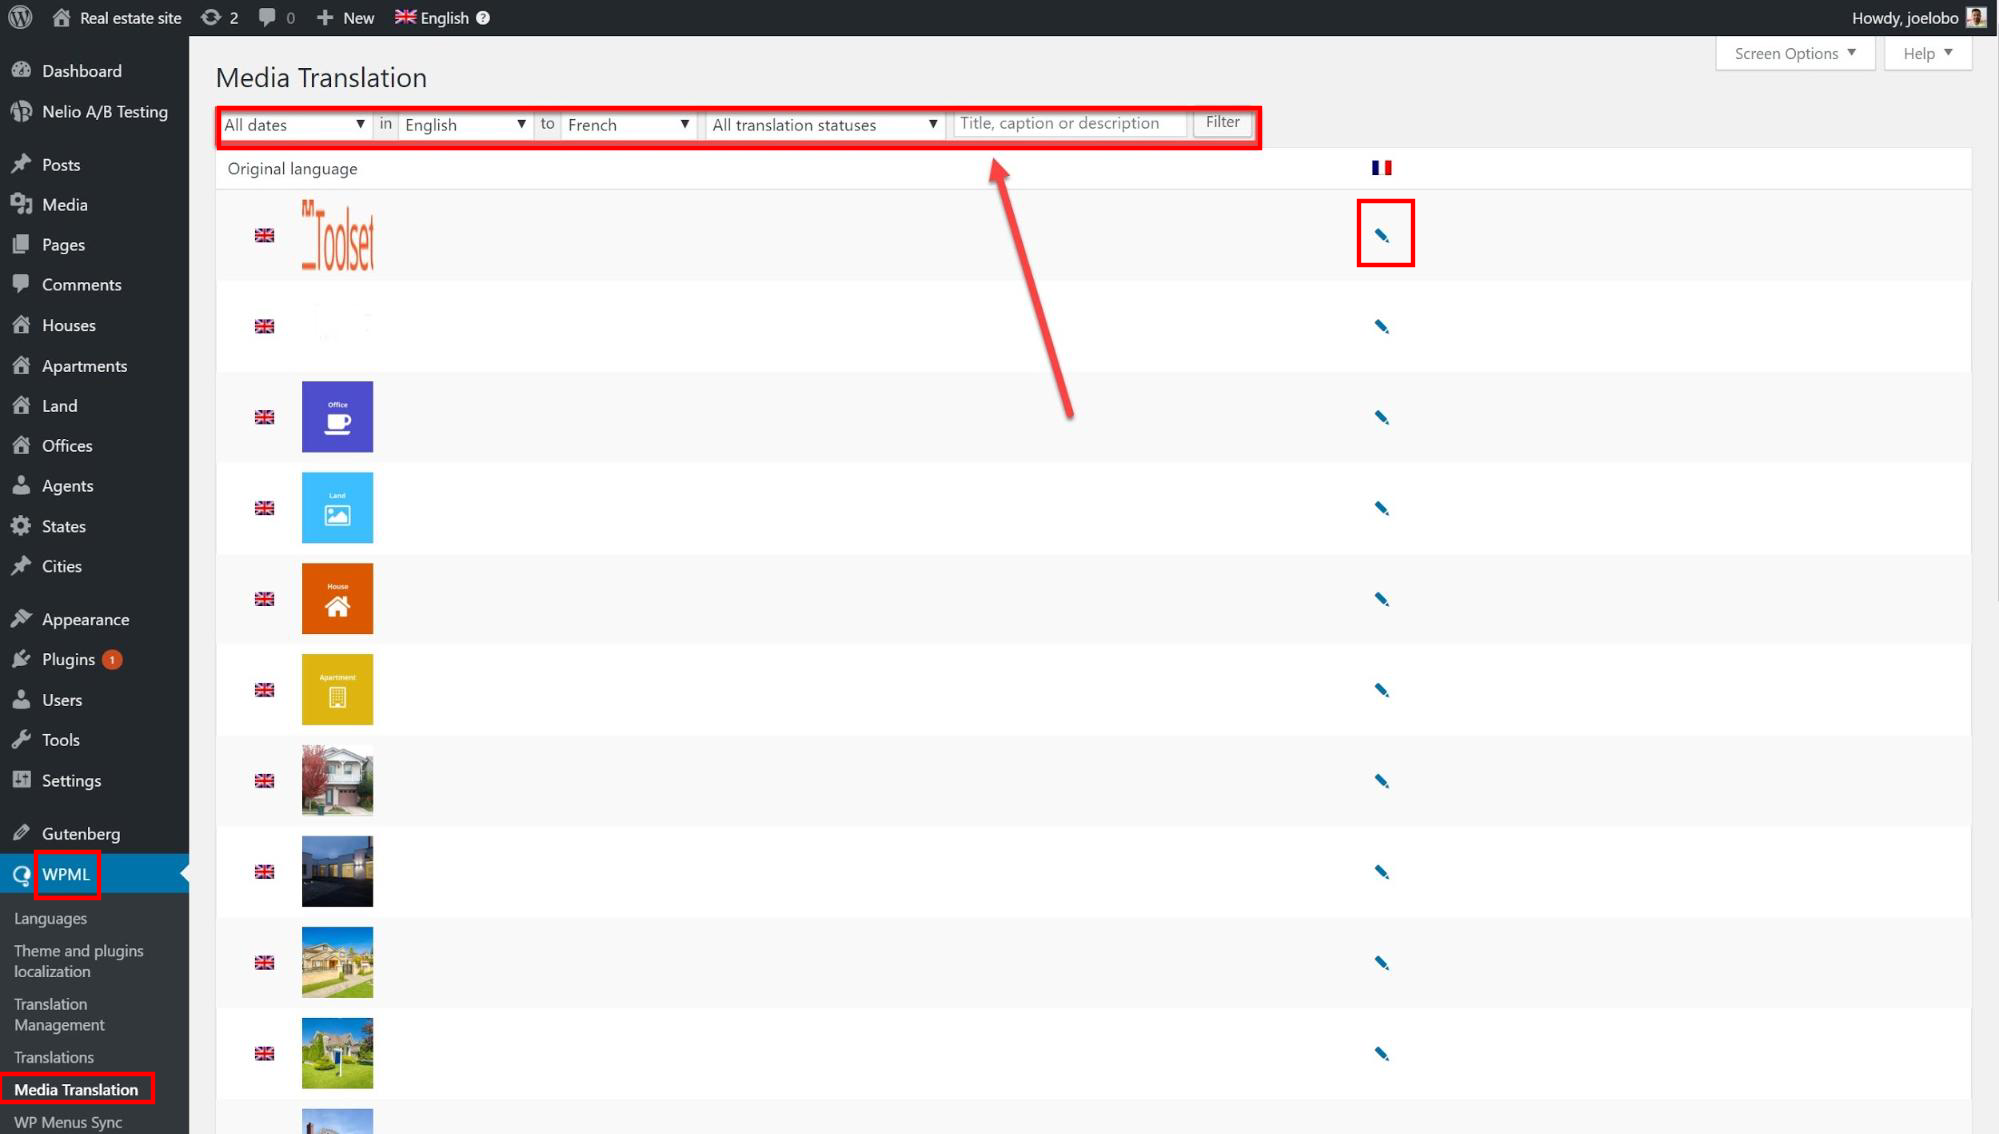
Now when you click the pencil icon against an image, you will be able to translate its meta text.
Conclusion
The method explained here will enable anyone with even basic technical knowledge to create a multilingual website. However, people who still do not feel confident about doing the job themselves must contact an agency providing WordPress programmers for hire.