Our Blog
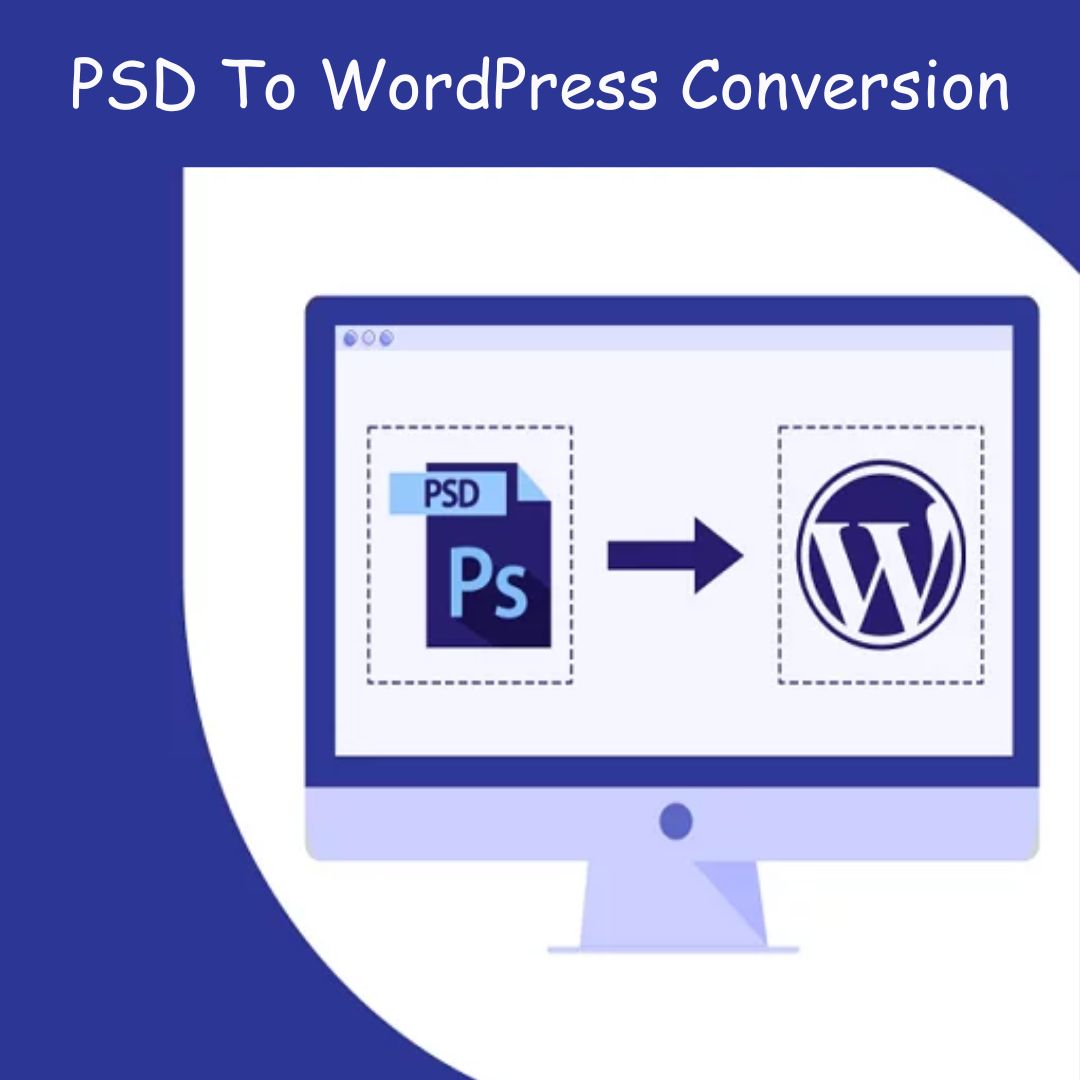
How to Convert PSD to WordPress Using Elementor & WidgetKit
You are aware that WordPress is a popular and flexible content management system. With a page builder like Elementor, converting a Photoshop document (PSD) into a fully functional WordPress theme (WP) is easier than ever. Learn the ins and outs of “How to Convert a PSD to WordPress Using Elementor & WidgetKit” now.
Selecting A PSD design
The first step in psd to wordpress conversion theme is choosing a PSD design for your website. PhotoShop Design (or “PSD” for short) is one of the most widely used design programmes, and it is used to generate the majority of WordPress website designs.
PSDHUB has a wide variety of PSD templates from which to choose.
You can get free, high-quality PSD templates from them and use them for any purpose you choose. Remember that the PSD you choose should have a clean, modern aesthetic. When deciding on a PSD design, keep the following in mind.
-
Design Structure:
The framework of the design is the priority. While there are no limits to design, code does.
-
Clean and Elegant Layout:
Third, the PSD layout you want should be simple and sophisticated. The developer is aided in creating a website with pixel-perfect precision.
-
Purpose Fulfilled:
The second consideration is whether or not the current design serves your needs. If you’re building a travel site, your PSD template should reflect that.
-
Complexity:
Finally, while design selecting, try to ignore complexity as much as possible, just as you would with PSD.
The PSDHUB template, known as Eventia-Conference and Event Management Template, is what you should utilise in this Section.
Install WordPress
WordPress is widely praised for how simple it is to set up. Installing WordPress is a breeze and can be done in under five minutes in most cases. After deciding on a psd to wordpress conversion theme, the next step is to install WordPress.
The “How to Install WordPress” article on WordPress.org’s support page is comprehensive. However, if you’re interested, here are the bare bones of WordPress installation:
- Before you do anything else, download the WordPress package and unzip it.
- Ensure your web server has both MySQL and WordPress databases set up.
- Place the WordPress files on your server in the location of your choosing:
- Transfer the entire contents of the unzipped WordPress directory to the web server’s root directory if you wish to incorporate WordPress into the root of your domain.
- If you want your WordPress installation in a subdirectory on your website, establish the blog directory on your server and transfer the unzipped WordPress package using FTP.
- Using a web browser, navigate to the URL where the WordPress installation script may be found, and then run the script.
That’s it! WordPress should now be installed.
Install Elementor
When it comes to making pixel-perfect WordPress designs, Elementor is one of the greatest all-in-one options. Its best feature is the flexible, user-friendly interface design. The Elementor installation process is also straightforward. By following the instructions, you may use the Elementor page builder to create a PSD with minimal effort.
The Elementor plugin can be set up in two distinct ways. The steps for setting up your system are outlined here.
Online Elementor
- Start by downloading Elementor from elementor.com.
- Navigate to Plugins > Add New in your WordPress dashboard.
- To install a plugin for Elementor, go to the Plugins menu, then click Upload Plugin.
Accessible using the WordPress administration panel
- Go to Plugins > Add New on the Dashboard to install a plugin.
- Type “Elementor” into the search bar, and then click the “Elementor” button to install the Elementor page builder.
- After the setup is complete, select the Activate button.
Putting the Elementor page builder in place is as simple as following these steps.
Install WidgetKit
WidgetKit for Elementor is the most sophisticated and potent Elementor Add-ons Kit, expanding your website design options. You can use its widgets and features to psd to wordpress conversion format.
Using WordPress and WidgetKit, you can turn a Photoshop document into virtually any web page. As easy as it is to create psd to wordpress services with Widgetkit, so too is its installation. WidgetKit may be installed with a few clicks from the WordPress administration panel.
Set up WidgetKit in your WordPress administration panel.
- To add a new plugin, navigate to the Plugins menu on the Dashboard.
- Type “WidgetKit” into the search bar, then click “WidgetKit” to add it to Elementor.
- After you have finished installing everything correctly, click the Activate button.
The integration of WidgetKit into Elementor is complete. Watch the video and do as it says if you still need clarification. The information here is useful for learning WidgetKit as well.
Convert your PSD to WordPress
The setup process is complete. It is time to begin the psd to wordpress conversion Elementor and WidgetKit process. The market is flooded with companies offering to convert psd to wordpress services. You are, however, free to devise your methods. This is a basic demonstration of importing a Photoshop document into WordPress.
In addition, the WordPress Themes & Plugins directory contains many pre-made Themes and Templates from which to select.
Keep this order in mind as you work on a PSD layout. It’ll be a big assistance to you,
Create a New Page
Beginning with the WordPress control panel, make a new page. Go to Pages > Add New in the WordPress dashboard’s upper left corner to create a new page.
Then, select Elementor Page Builder by clicking the Edit with Elementor button.
Build Your Page from PSD File
Three primary things to consider while creating a page or psd to wordpress conversion theme are sections, Columns, and Widgets. In this case, the largest unit is the Section, which encloses the Columns. Widgets can be positioned in Columns. You can modify a Section, Column, or Widget by clicking the corresponding edit button.
Add Header Section
You have modified the pre-made Theme Eventia by Themexpert for use in the header area. If you want to create a custom theme for use with WordPress, you’ll need to base it on an existing theme. Then, you can add a logo and several pages using the Theme’s style or layout.
Add Hero Section
The hero part of the story has been converted. Like the PSD, you start by adding a background image, and then you create columns within columns so that you may add various pieces of content and icons.
Here, the WidgetKit Countdown element serves as the counter.
Add Inner Section
The inner structure must now be planned. Background and text are added in between the columns using Elementor elements.
This is the Elementor-editable “About This Event” part. Insert your Section’s text and banner image here.
The WidgetKit team’s vertical icon may be in the PSD file’s speaker layer. Images and social media icons can be added alongside your name and job title in a separate column.
Here you can insert whatever icon you like from the PSD and a headline.
However, Elementor has its limitations. You modify your Theme using a third-party add-on or create one from scratch. When creating psd to wordpress services, this is a regular occurrence. The Eventia Theme’s Schedule Add-on is all you need for this.
WidgetKit’s blog carousel widget is used in the Blog section. You can change the background and add a read more button to your content visuals.
Like the header part before it, the bottom Section uses an existing Theme, Eventia by Themexpert. There are buttons to subscribe and share on various social media platforms.
Preview & Publish your page
Preview and then Publish your revised PSD file once you’ve made changes. Changing a Published page and saving the changes as a Draught is possible. That means that saving as Draught won’t mess up your live page. The PSD preview for Eventia may be seen here.
Conclusion
The psd to wordpress conversion is complex and requires technical proficiency. Therefore, if you want a dynamic, visually appealing website for your company, it is recommended that you employ psd to wordpress services. Follow the steps, and WordPress will render your design beautifully.