Our Blog
How To Integrate A PayPal Payment Account With WooCommerce
WooCommerce is one of the best examples of the proficiency of WordPress plugin development. People can easily add a virtual marketplace to their interfaces with the plugin. It is one of the most widely-used e-commerce solutions in the world. The plugin’s popularity can be gauged from the fact that WordPress WooCommerce development has become a separate field in itself. PayPal is an online payment system that helps people transfer money electronically. It is one of the most preferred modes of payment during virtual shopping. Online entrepreneurs will benefit when they integrate a Paypal account with WooCommerce store with more purchases taking place. Let’s see how this can be done in a few easy steps.
1. Sign Up For PayPal
People who do not have a PayPal account must do so by signing up with the service. Go to the website of the service and click on the “sign up” visible in the top right corner. You will be directed to the next page where there will be options for creating a personal or business account.
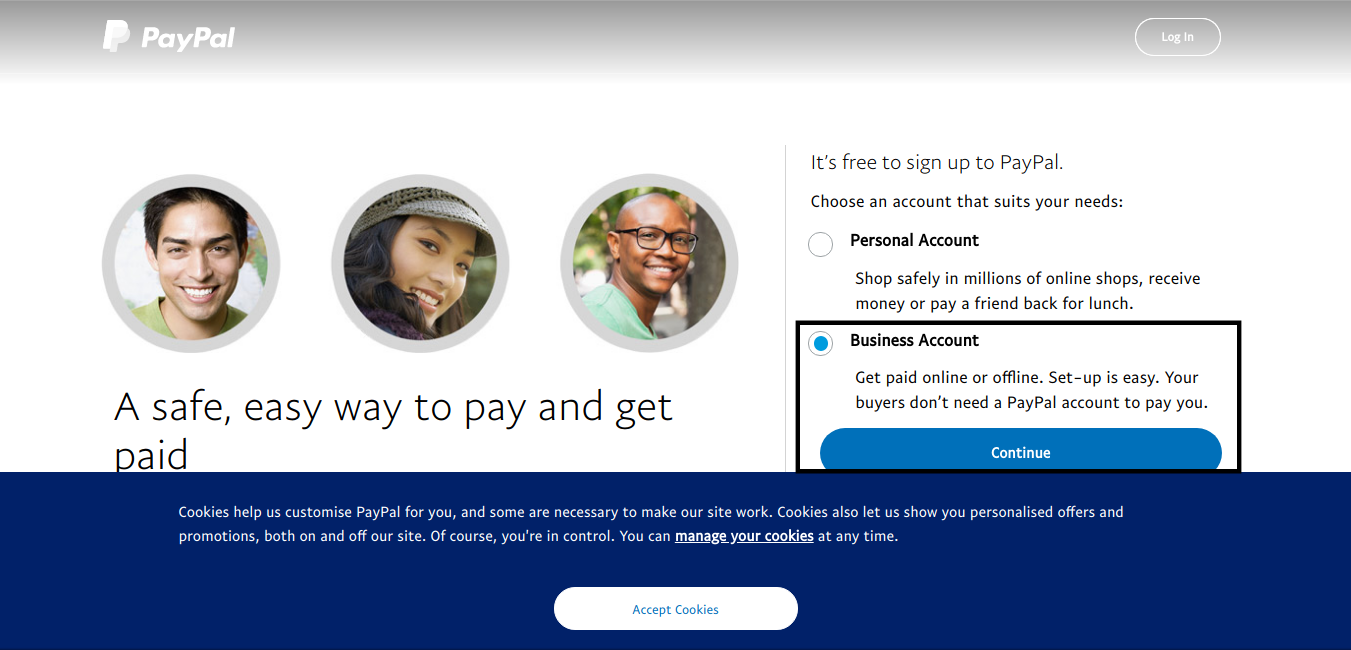
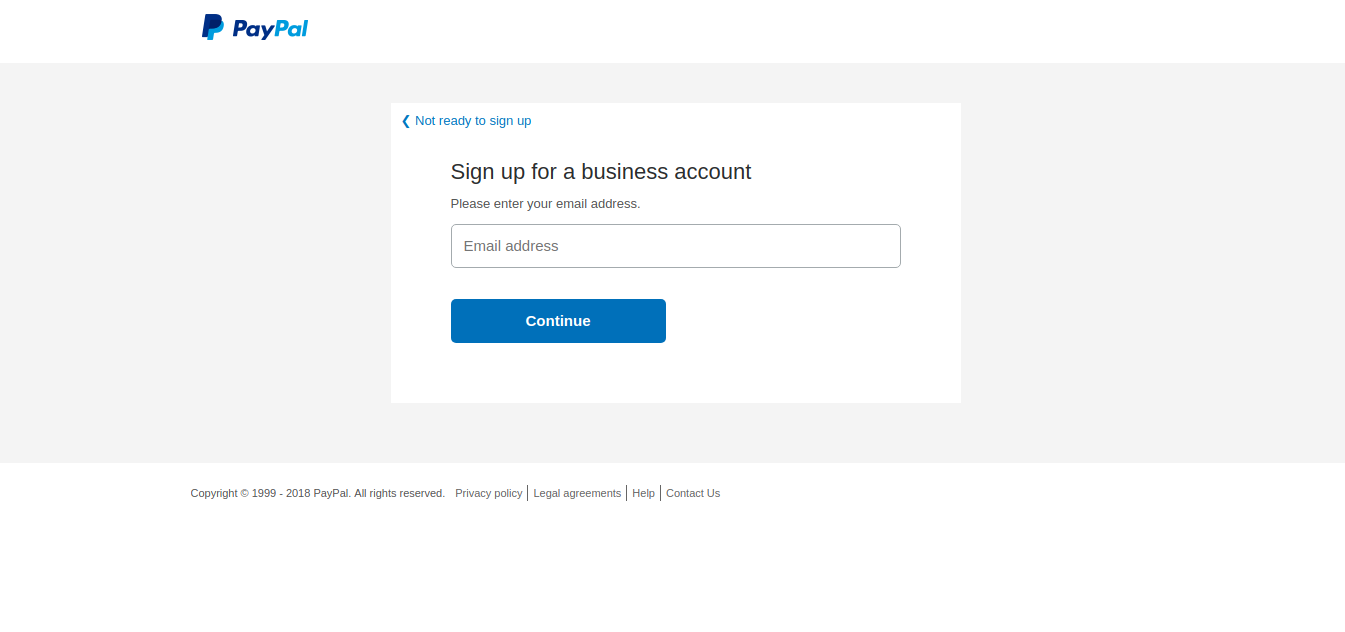
Select the “Business Account” option and then click on “Continue”. A new page will open asking you to provide an email address. Enter an ID of your choice and click “Continue”.
The process for creating an account with the payment service is now complete. If you have a personal account on PayPal, it can be upgraded to a business account easily. Go to “Settings” in your account and you will find an option for the purpose. Click the “Upgrade to a business account” tab. You will be asked to give some business information. Once it is provided and the terms and conditions agreed to, the process will be completed.
2. Integrating PayPal With WooCommerce
We now begin the process to integrate PayPal account with WooCommerce. Log on to your WordPress account to access the admin dashboard. The option for the e-commerce plugin will be visible in the sidebar. Navigate to it and open its settings.
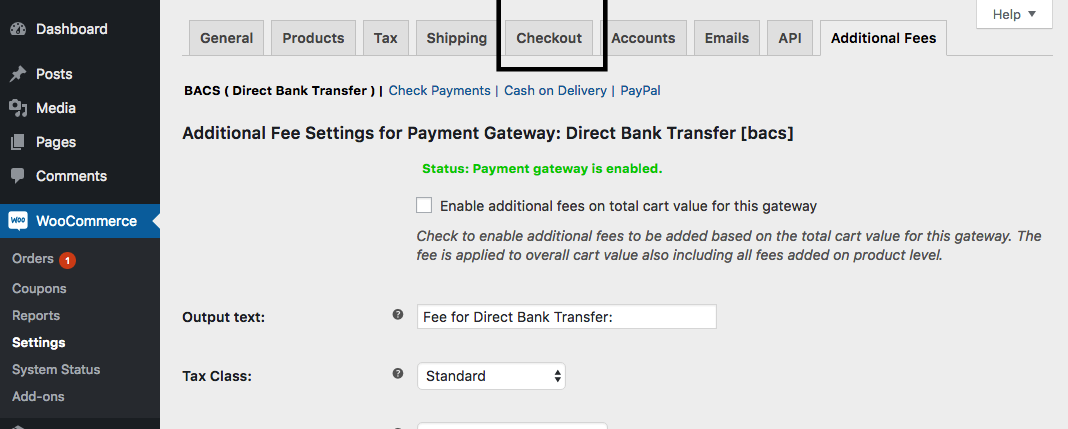
See the option for “Checkout” in the horizontal list on the top. Open it and you will be presented with a different menu. Locate the option for “Payments” and select it. The e-commerce plugin has the settings for the payment gateway built into its architecture. You can see it listed in the payment methods and find it easily.

Click on the option given in front to enable the payment gateway.
3. Configuring The Standard Settings
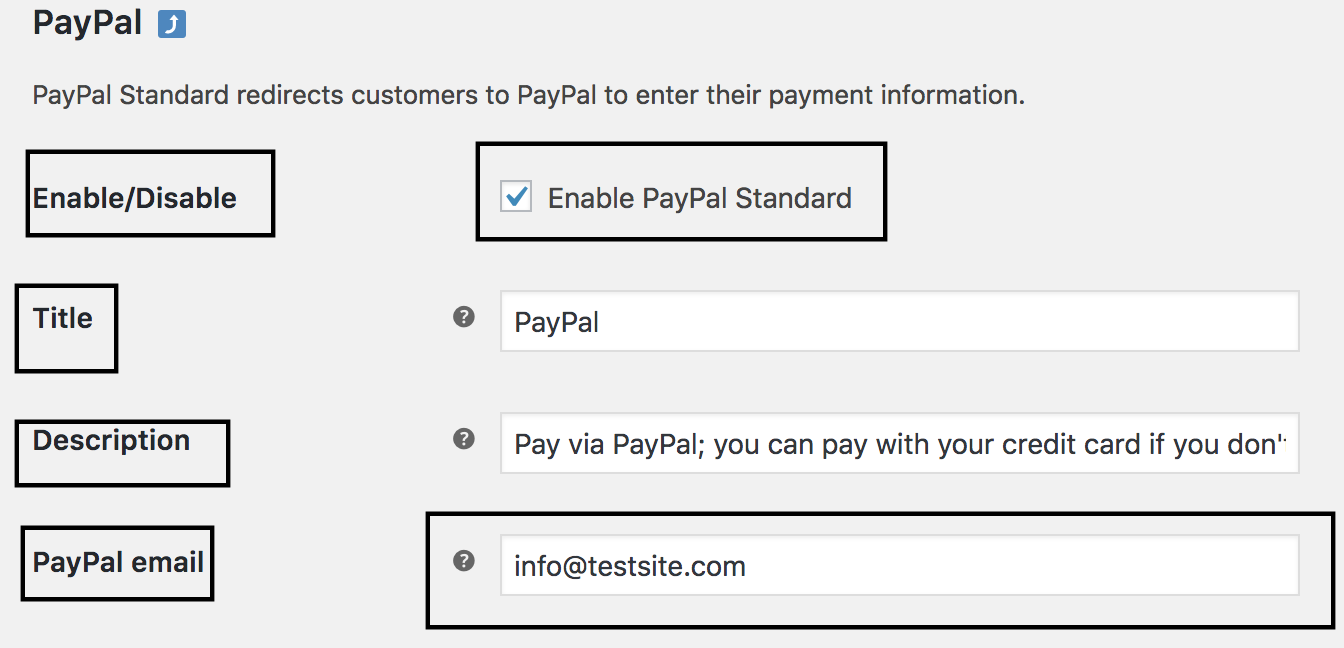
We will now configure the settings of PayPal. You will have to choose the option of “Set up” for this purpose. The first option in the configuration settings list is the Enable/ Disable Toggle. Click it to enable PayPal Standard. The next field is “Title” which is the heading that a shopper will see on checkout. It is followed by “Description” which is the text that is seen on checkout. Then there is the field for PayPal email. Provide the same with which you created the business account in the first step.
4. Provide Details In Advanced Options
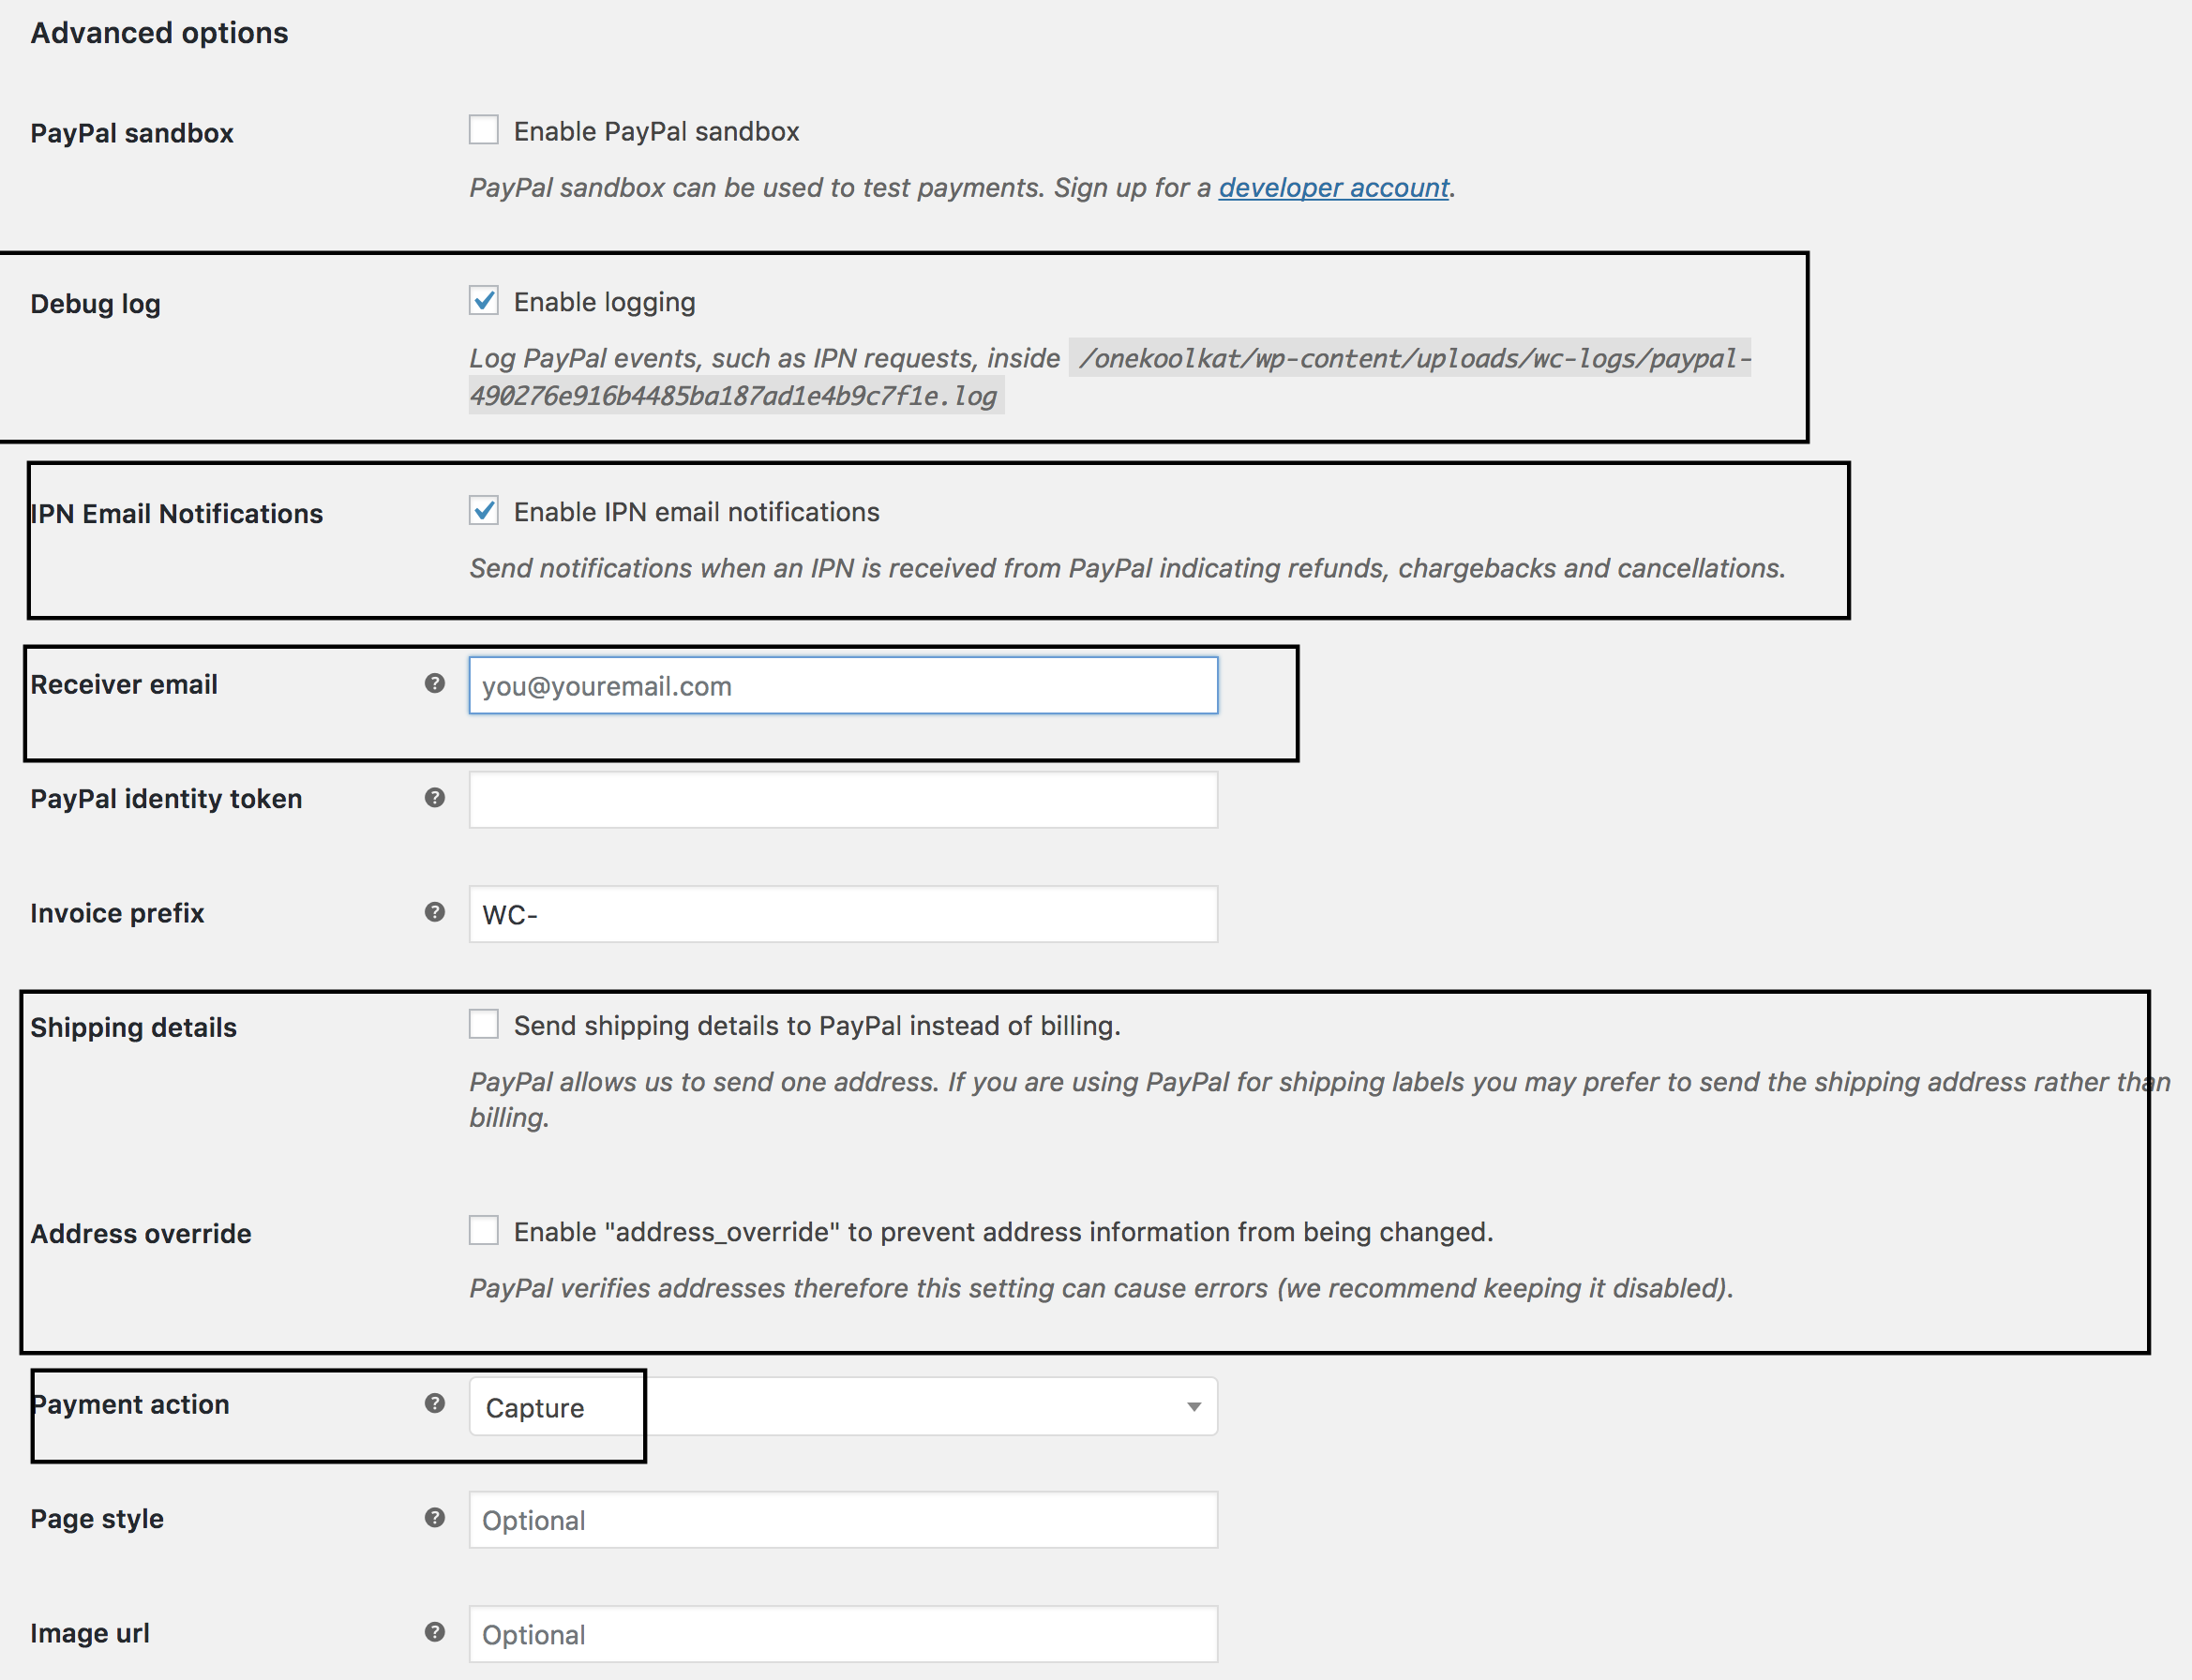
There are some advanced options also which need to be configured also. The first field is about PayPal Sandbox which we will discuss later. The debug logs can be useful in the development process and if turned on can be accessed at WooCommerce> System Status > Logs. Enable IPN email notifications to get alerts about payments, refunds, and cancellations. Then there is the field for “Receiver email”. Enter the address if it is different from the one provided earlier. You will receive information about payments on this email address. Enter the invoice prefix otherwise the default WC term will be generated. Two options for shipping are provided and users can send details to PayPal for creating shipping labels.
As you move down the list, you will see the “Payment Options” field. Choosing “Capture” will immediately process a payment without any verification. The “Authorize” option, on the other hand, will require manual verification before completion. Page Style lets you choose a name of a custom page from the account. The Image URL can be used to display an image on the checkout page.
5. Entering The API Credentials
The API credentials are required if a user wants refunds to be processed through the payment gateway. You will need to provide the API username, password, and signature in this section. All these details can be generated from the Sandbox account.
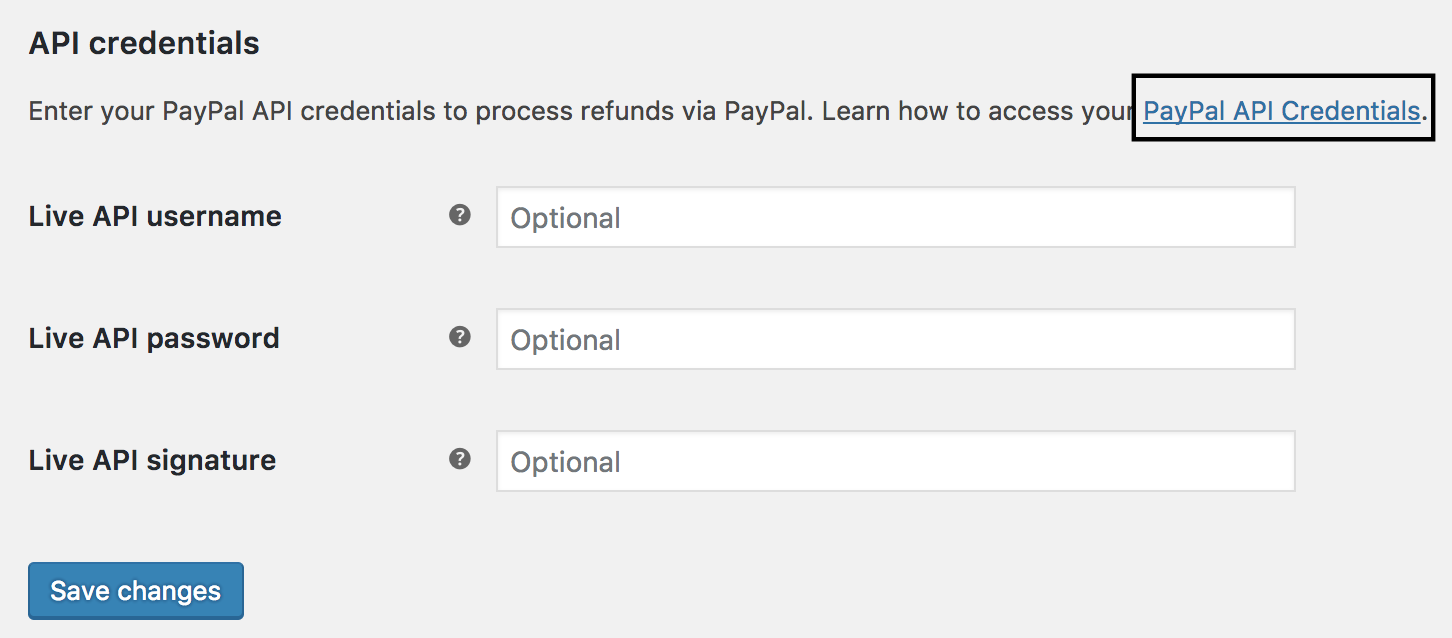
You can find detailed information about the credentials by clicking on the link provided on the page. Once you enter all the information correctly, the process of integrating the two services will be complete.
6. Accessing The Sandbox Account
PayPal provides the Sandbox account which is a very beneficial service for development. The account that you created just now can be checked in a test environment in the Sandbox. You can run dummy transactions to learn how things work or to spot any issues. The account can be accessed by logging on to the dashboard in the developer section of Paypal. You can also find a link to this section in the footer of the PayPal website.
Conclusion
This process to integrate a Paypal account with WooCommerce will be useful for online merchants looking to generate more sales by introducing a convenient payment option to their visitors.