Our Blog
How To Use Visual Composer For WordPress Page Building Projects
WordPress is one of the most convenient platforms that can be used to build a website. You do not need to be an expert coder to create a layout with the open-source CMS. There are millions of tools that can be employed to create all sorts of elements of a website. In this post, we are discussing how you can use Visual Composer for WordPress page building purposes. It is one of the most popular solutions that can be used to create new pages or modify existing ones. The product will be liked by users who do not have coding skills and, therefore, will be unable to work with HTML or CSS scripts. They can take the help of this powerful solution to easily fashion a layout by only using their mouse and keyboard. Let’s dive into the topic to know about the fundamentals of this page builder.
Visual Composer is also known as the WPBakery Page Builder for WordPress plugin. Seasoned users will know that the product is supplied with many premium themes. This allows subscribers to easily modify their freshly-purchased template without any hassle. You can visit its developer website to buy your copy of the plugin. It is available in three plans that have been created for developers, single website users, and 3 website installations. In case, you are a WordPress theme developer, you can choose the variants meant for professionals and improve your productivity.
How To Build A Page With Visual Composer?
Once you have downloaded the plugin files in a zip format, you can install them by clicking the relevant link after visiting Plugins > Add new in your dashboard. Activate the tool and then read on to know how it works.
Using The Blank Page Wizard
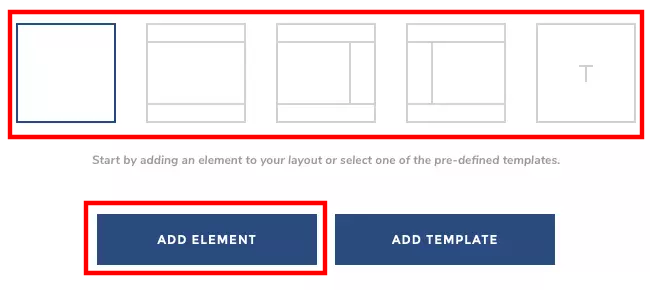
Go to Pages in the control panel and click on Pages. As soon as you press the Add New link, the plugin will automatically launch the Blank Page Wizard. You can now provide a name for your new page. Then you can choose a readymade layout for your page from 5 pre-defined options. As you can see in the image given below, the first option is a completely blank page followed by one with a header, content section, and footer. There are two template variations with sidebars while the final one is the default page of your activated theme.
After selecting an option, you can click on Add Element to start your modification.
Editing An Existing Page
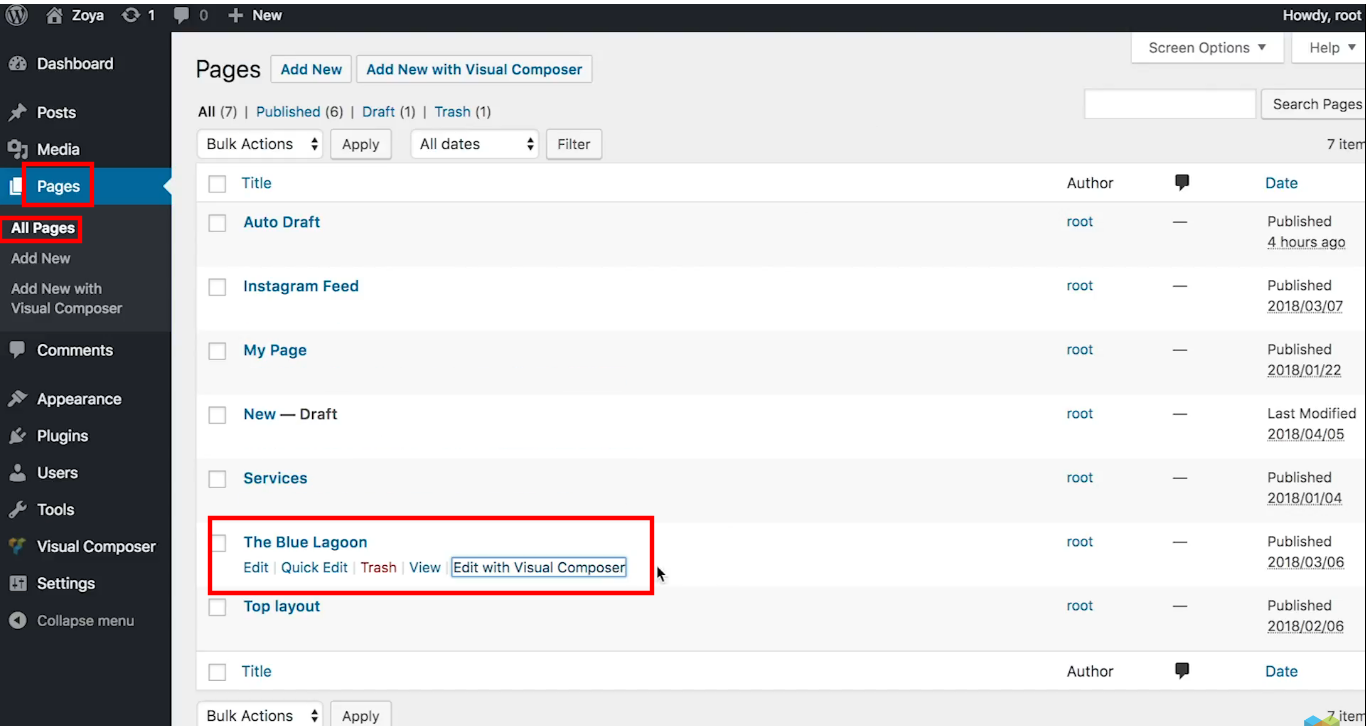
Let us now discuss how an existing page can be edited with the Visual Composer for WordPress plugin. In your dashboard, access pages > All Pages. Now go to the page that you want to modify and you will see an option called “Edit with Visual Composer”. Click on it to launch the frontend editor of the builder.
1. Select A Template For Your Page
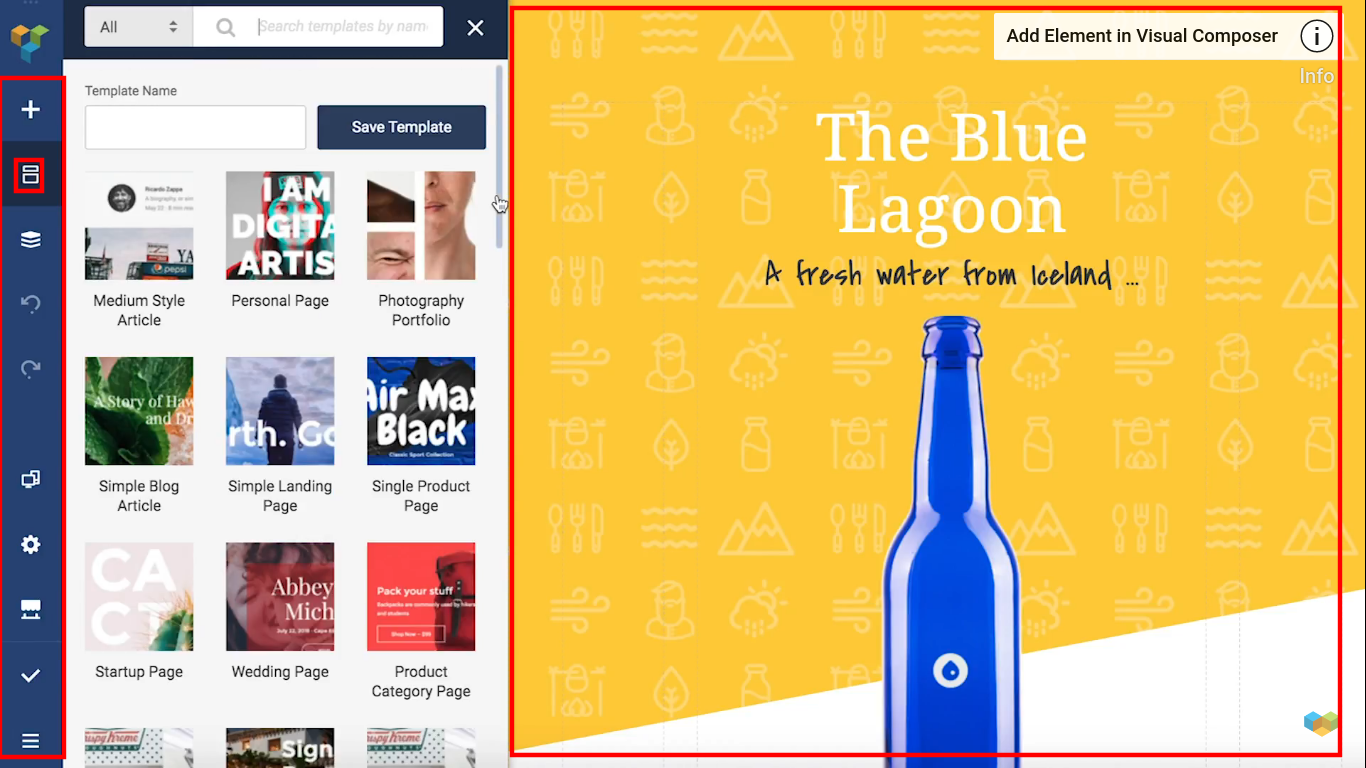
You will now see a screen with a navigation panel on the left-hand side and your existing page on the right-hand side. Click on the second tab from the top and a list of template options will open. In case, you are not happy with the existing layout of your page, you can select a template from the given options.
2. Add New Elements To The Page
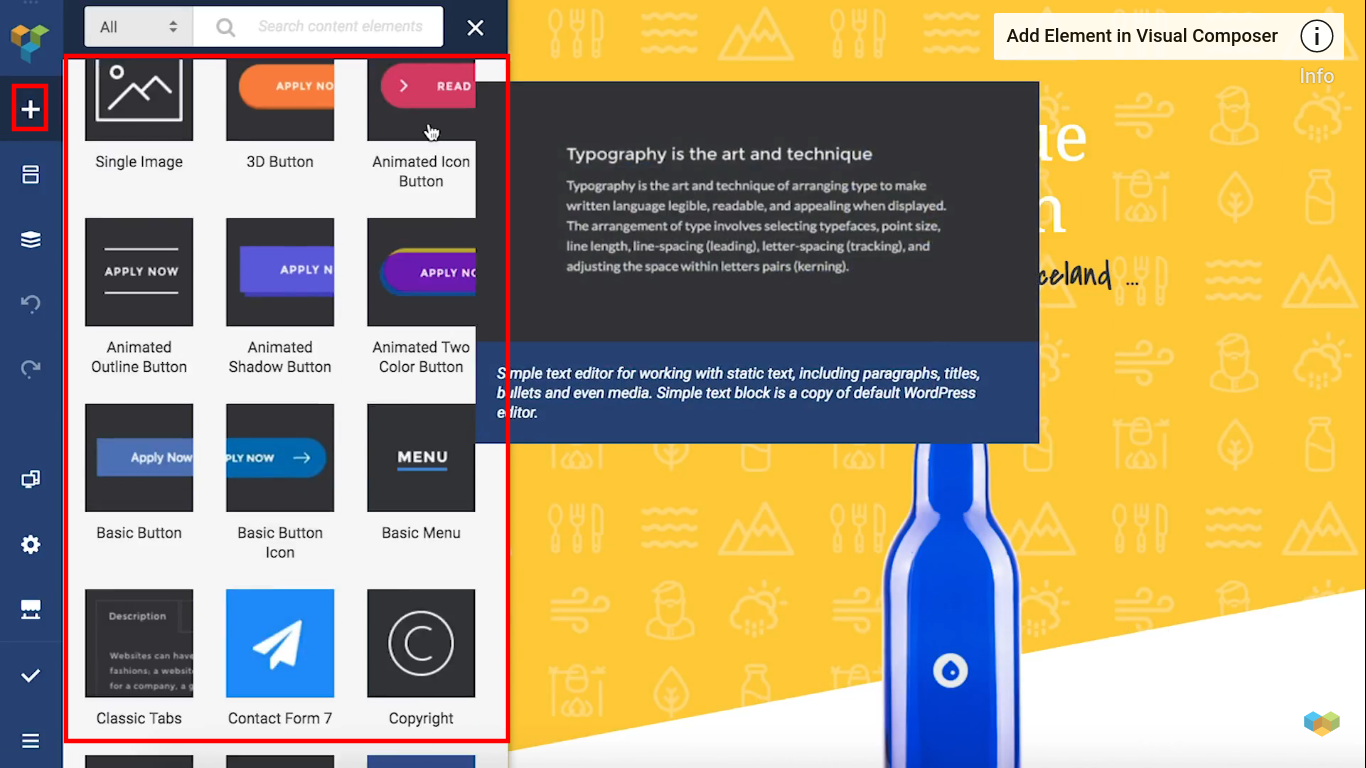
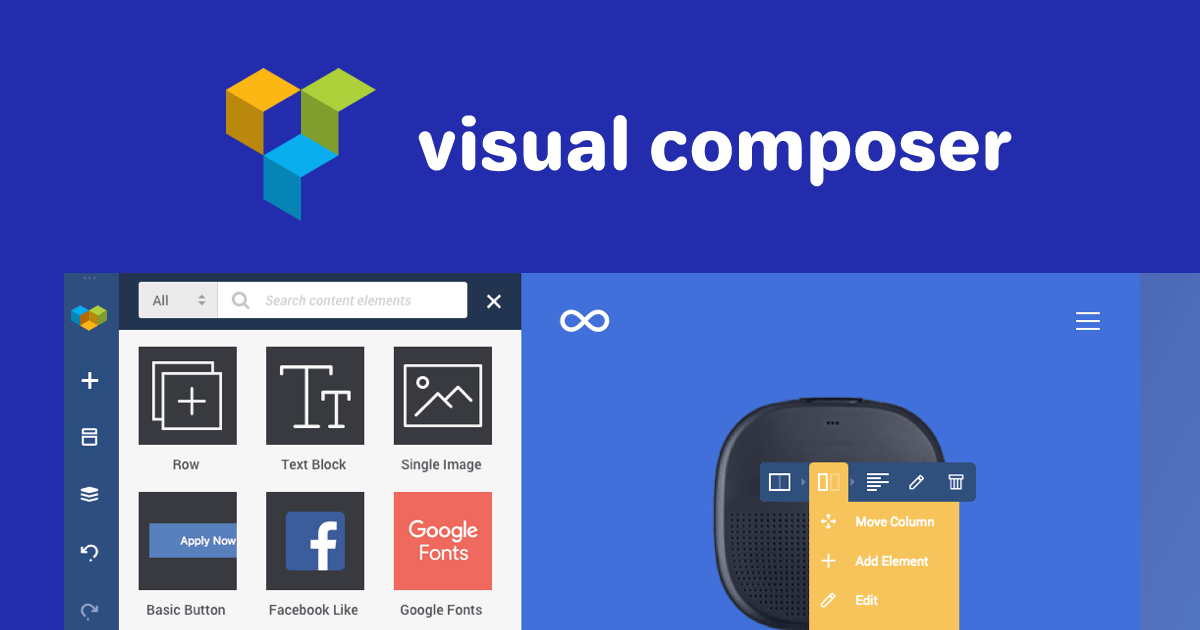
Switch to the first tab in the bar. This will open the elements library of the plugin. Here you will find a wide range of elements like menus, icons, buttons, etc. You can use the search feature or scroll through the choices to locate your desired item.
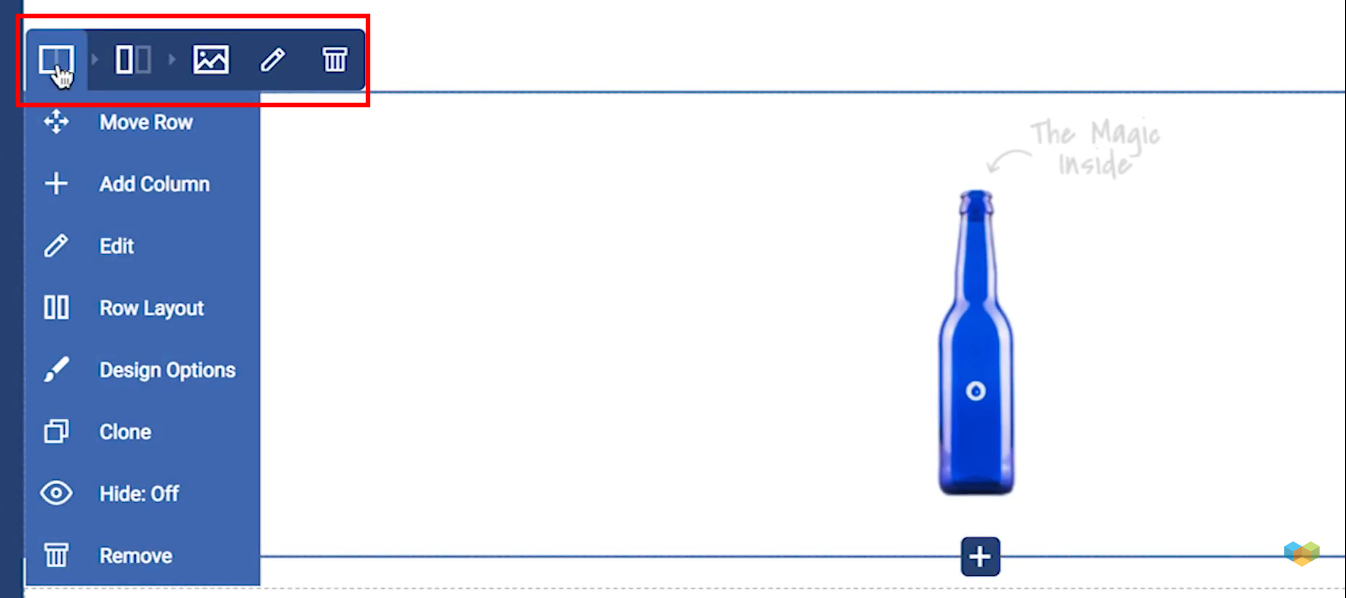
Once you have dragged and dropped an element on your layout, you can access its control settings by hovering the cursor over it. The element control panel has options for editing rows and columns apart from general settings.
3. Using The Tree View Option
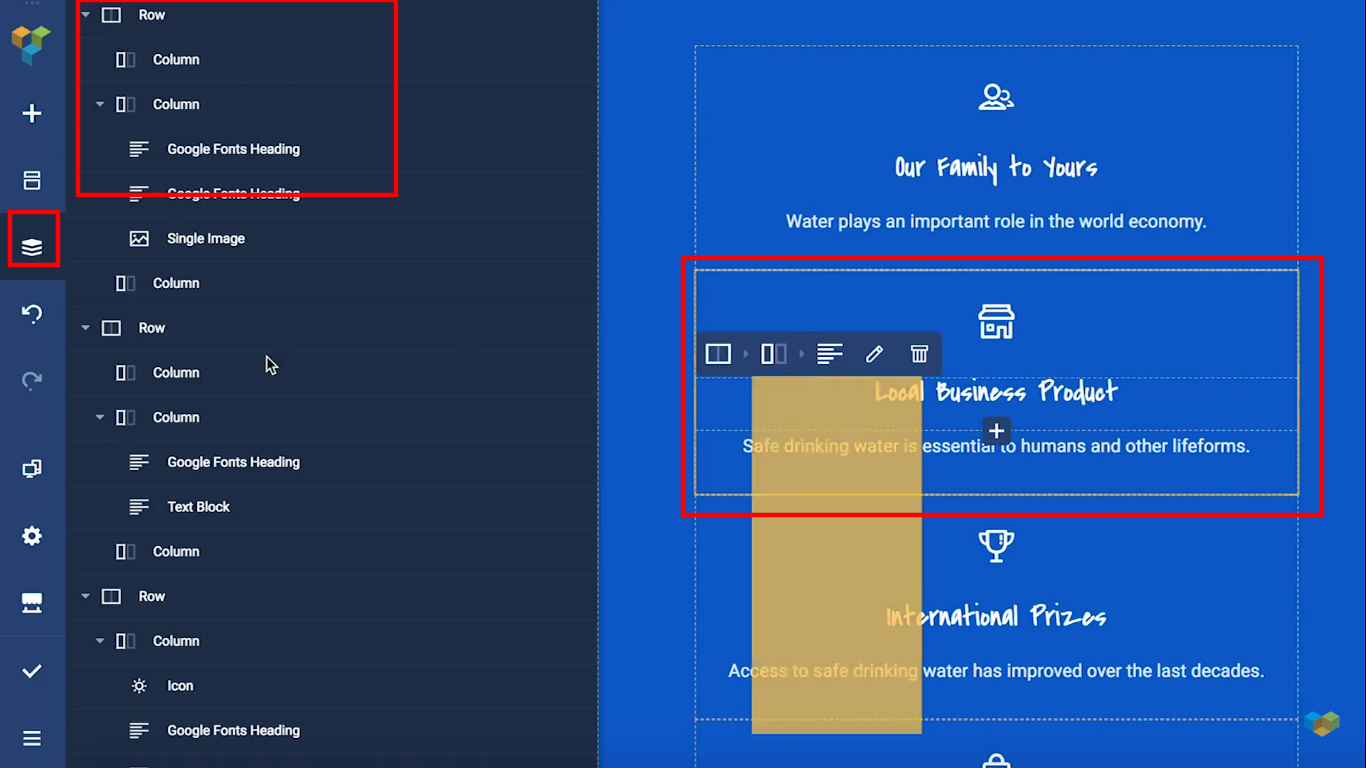
Just below the template tab lies the Tree View option. This gives you access to some more editing controls over the different elements of your page. Take a look at the image given below. Here we are hovering over the item on the right-hand side and the corresponding controls in the left-hand panel are divided into rows, columns, and the relevant elements. You can now make all the changes and preview them in real-time.
4. Check Out The Page On Different Screen Dimensions
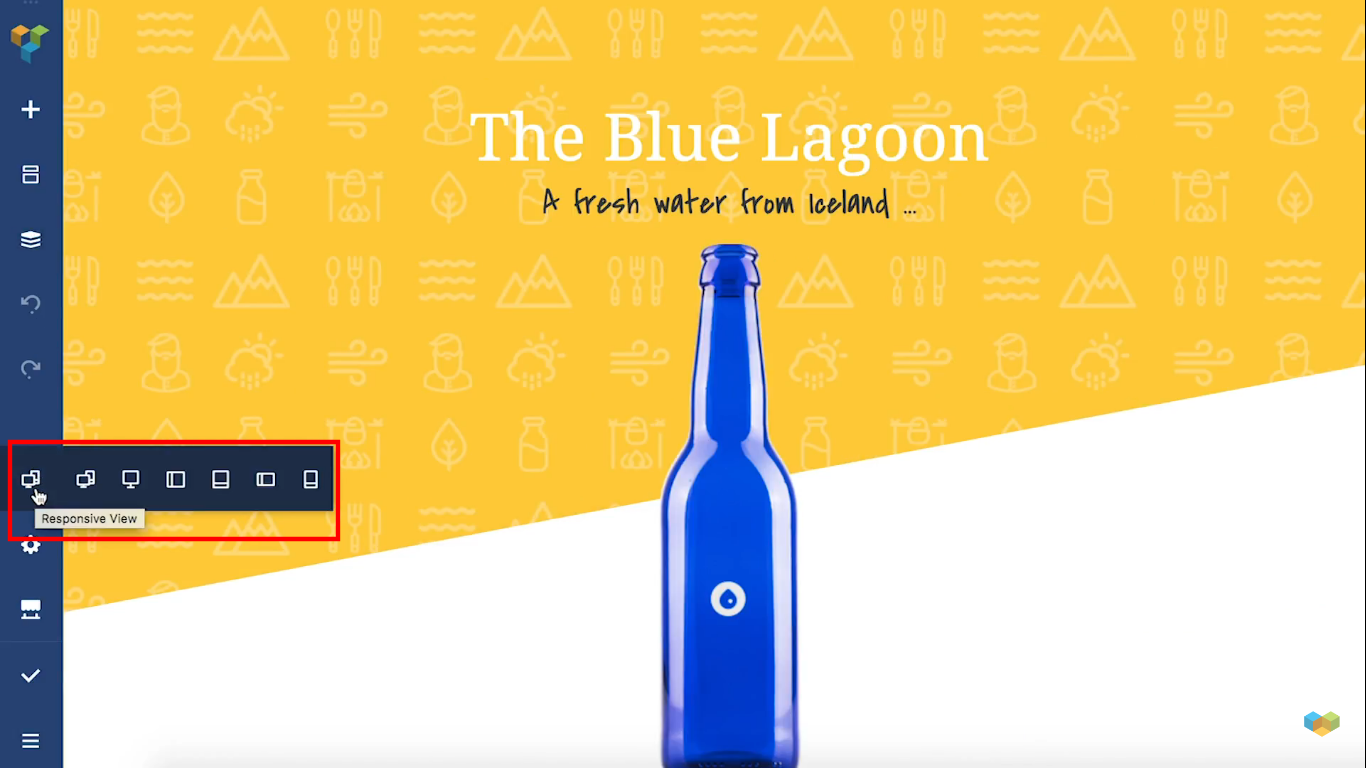
Do you want to know how your page will look on different devices? Simply choose the responsive option in the navigation bar. This will open a toolbar with different screen options. You can select and define the view of the page to fit screens of different gadgets.
5. Access the Visual Composer Hub For More Options
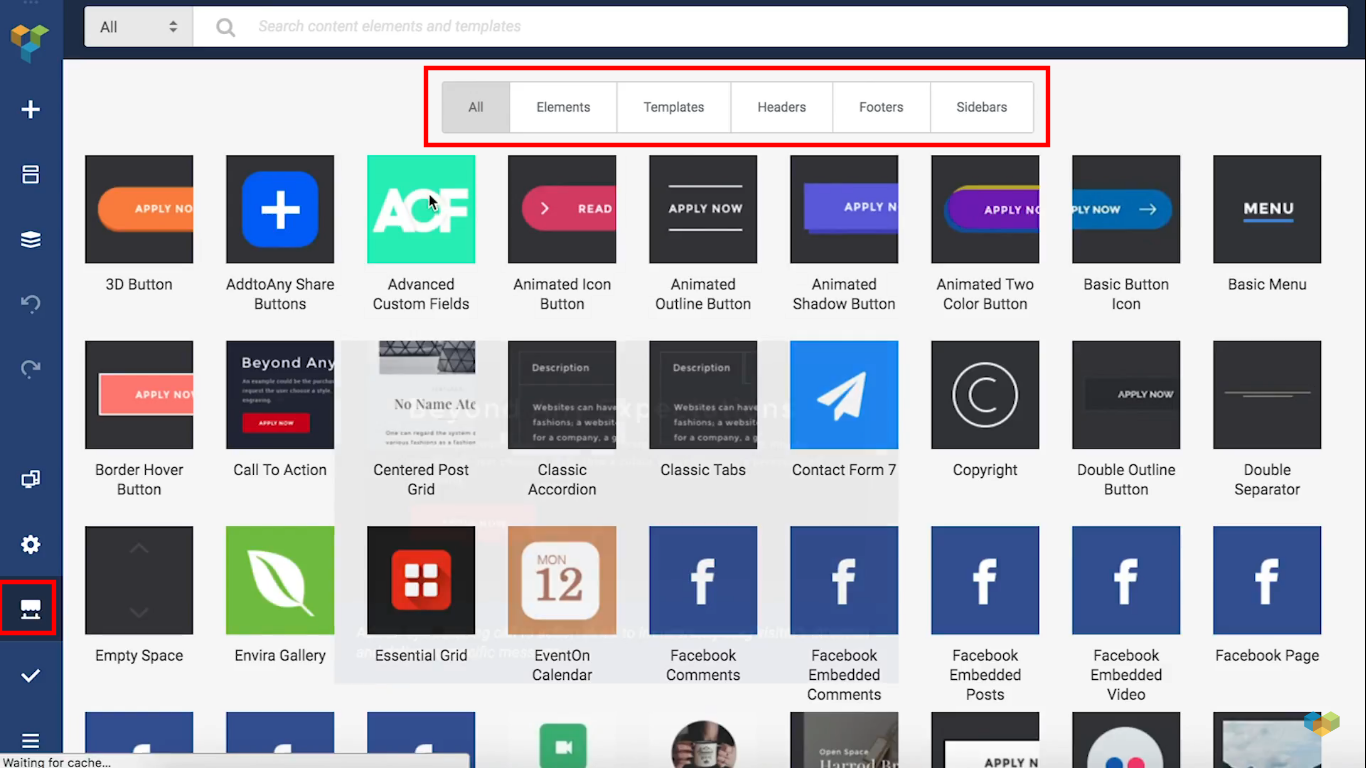
Move down and select the Visual Composer Hub tab to access the complete library of templates, elements, and extensions provided by this powerful plugin. You can select the relevant category on top of the page to view the listed options.
Conclusion
You will now be able to use the Visual Composer plugin to design your layouts. However, if you feel the options are too complicated you contact HireWPGeeks that is a well-known WordPress web development company. Drop an email, fill the contact form or call to get assistance on all WordPress-related matters.